
Hello, everyone! My name is Yana Lyashenko, I’m a Google logistician. I am engaged in the delivery of the target audience of the business with the necessary parameters.
In my Telegram chat on the Google-logist channel (you can subscribe, there is a link in the description of this video – click the “More” button), a person wrote the following request: “Does anyone have or can Yana write down manuals on how to use the new merchandise? There are a lot of questions and zero answers.” Today, we’re going to look at three questions that people ask and go through them directly.
How to add products to different feeds?
The first question is how to add products to different feeds now. Let’s think like a Google designer. Everything has moved a little bit. In the old Merchant Center, the entire navigation bar was on the left, but now they’ve changed it to the right, I don’t know why. But where can we find these damn Merchant Center feeds? They are located – the “gear”, and here will be the first item “Data Sources” or whatever language you are looking at. What will be located here? Here you will find all the main feeds on the “Main Sources” tab.

That is, if you want to add that feed, you can do it very easily through the “Add data source” button. Now, these are not called feeds, but product data sources.

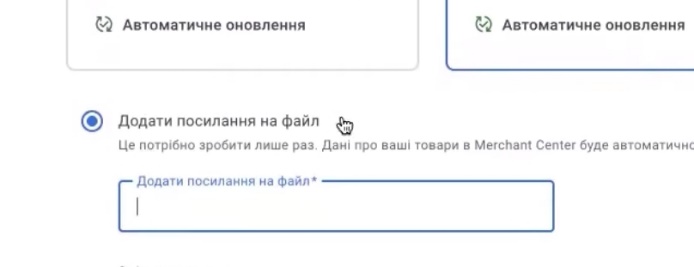
Since I’m looking at a WooCommerce-based Merchant Center here, it immediately offers me a WooCommerce connection. But you need to be especially careful with WooCommerce. If you have programmers who cut their own code on this WooCommerce, you need to be careful with this with clients. But even on the same WooCommerce, if you use some plugin that makes a classic xml feed link, either from Hoshop or Proma, or some plugin that generates feed links in xml, csv, whatever you want. Here, please, select “Add products from a file”.

Here you need to insert a link to the file.
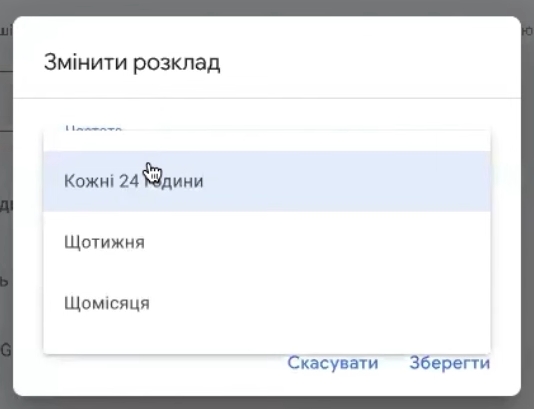
Next, what do you need to fill in? A schedule. Here you go, “every 24 hours/weekly/monthly”.
The same story as in the previous Merchant. For authentication, you can usually add something there if you passwordize it. The country is selected in the bottom panel. The language of this feed is selected in the lower panel. And the marketing services you have connected there.
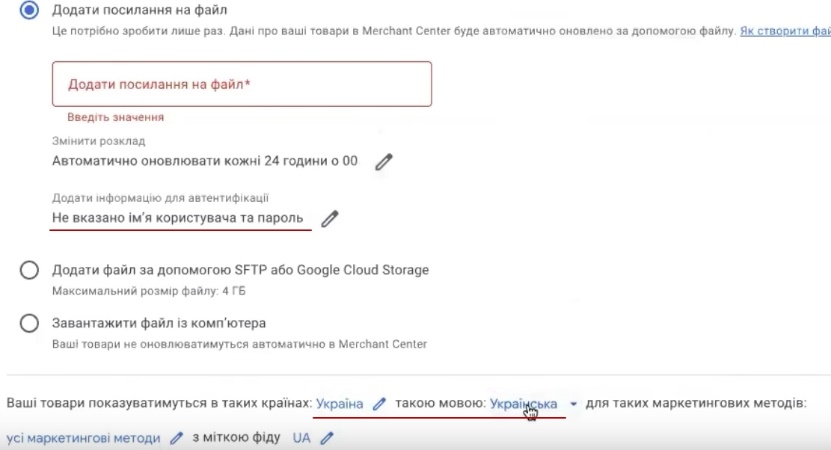
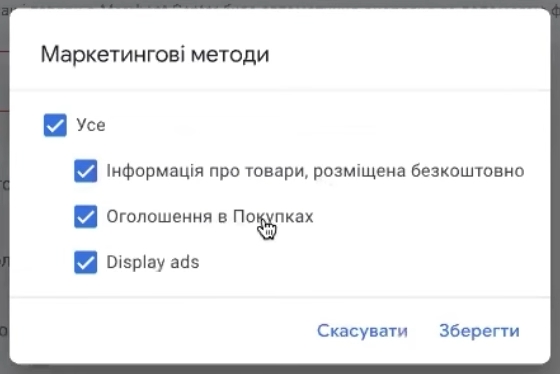
As a standard, all products for free, Google Shopping – ads in Shopping and Display Ads for dynamic remarketing. You can choose this for one thing only, please.
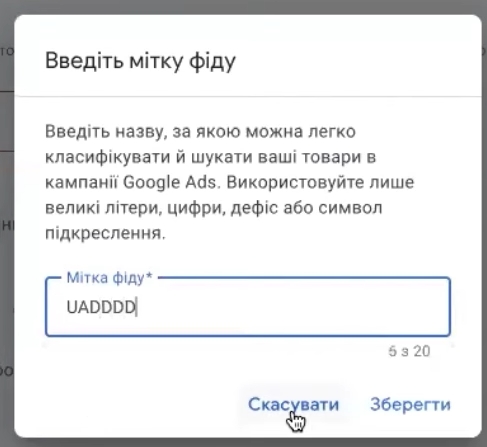
And a label. The label, as we could write it ourselves back then. Remember that you can write here only in Latin without numbers and only in caps. You can write it in any way you like: RU/UA, etc.
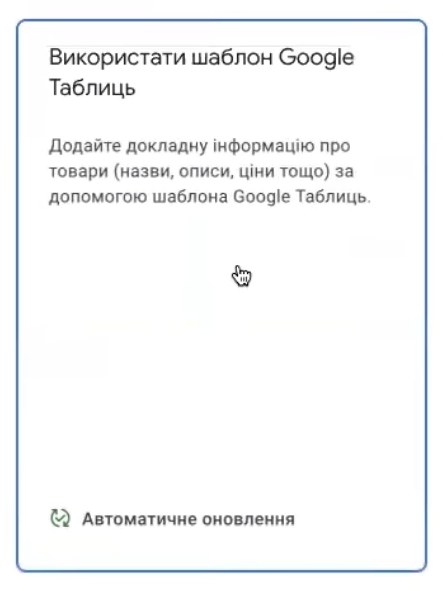
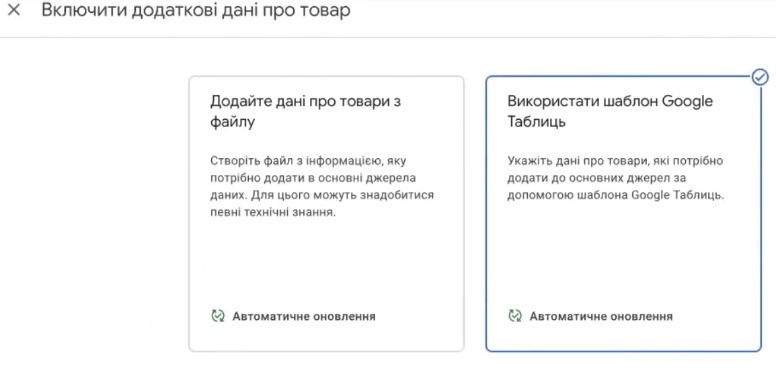
You can also add a feed from the Google Sheets template file itself. To do this, select this template. They came up with it a little bit cringe-worthy. Why?
Because you first need to click “Use template” and log in to the appropriate account. For example, I’m going to take my account and immediately redirect you to this template of the entire feed. It’s a test, so it has nothing to do with this account. Most likely, you will see it exactly the same.
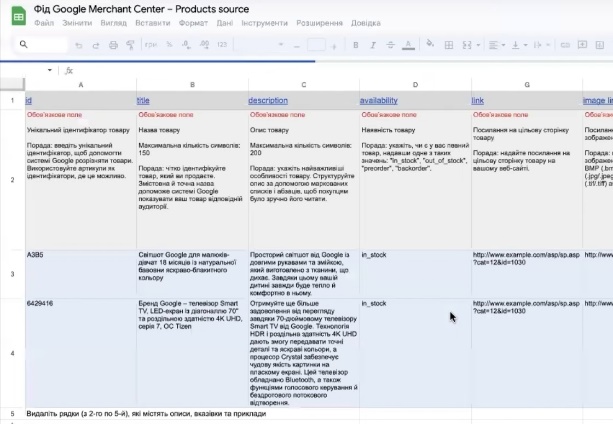
All the information on how to fill out the feed is aggregated here. Here, at your request, you can completely demolish it all, redo it. It’s just listed here in the format that Google suggests you fill out. That is, you can use this template. If you want to redo Google Signs, you first redo everything you need here and then click continue. The mechanics of choosing a country, language, and sources where you will be shown with labels are the same here.
You can add via the API, but the API is usually automatically linked if you do it through some plugins, or the content API transmits this information, everything is directly here. I don’t want to make a feed right now. I already have one.
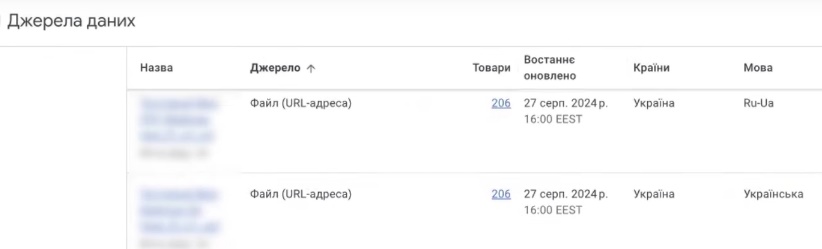
This is how we can add new feeds. They are also divided by language and country. You see, I have Russian-Ukrainian here, and I have just Ukrainian. By the way, it’s cool what they did in the new interface: you can update a feed by going to “All Data Sources” and clicking the “Update” button. Sometimes this was not enough for me, I had to go to “Feed” and click “Download this feed”. Now it’s much more convenient. This feed is still a little strange.

What is this on top of me? Above is an automatic feed that takes data from your structured data. That is, if it is here, it means that the system has already indexed some of the products on your site. I can change something here a little bit in this feed in order to see the picture.
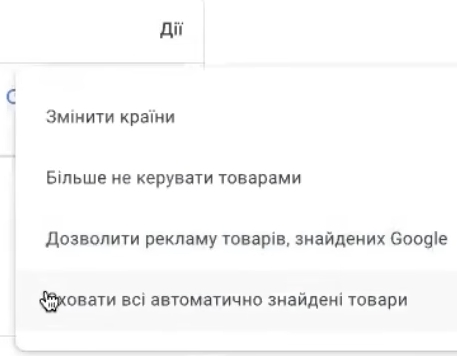
Here I can “Do not manage these products”, “Allow advertising”, “Hide all automatically found products”. That is, it is an automatic feed. Where does the feed come from automatically? It is generated based on your structured data. That is, the scheme that you have defined.
Manage feedback feeds and additional feeds
Also, don’t forget that in the “Data Sources” you can find your review feeds here if you happen to upload them. They are located here.
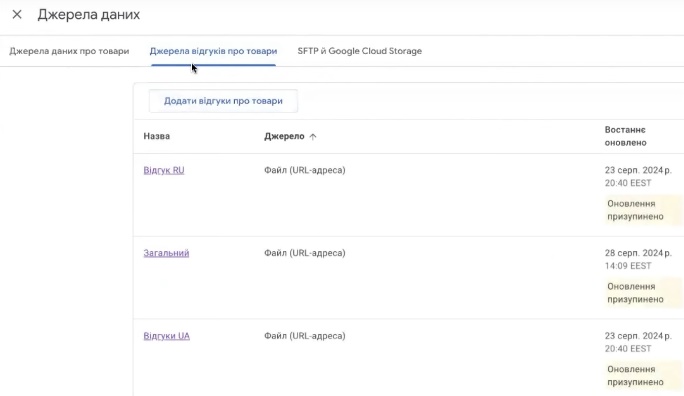
I will explain later where to find them and additional feeds are also located on this tab “Additional sources”.
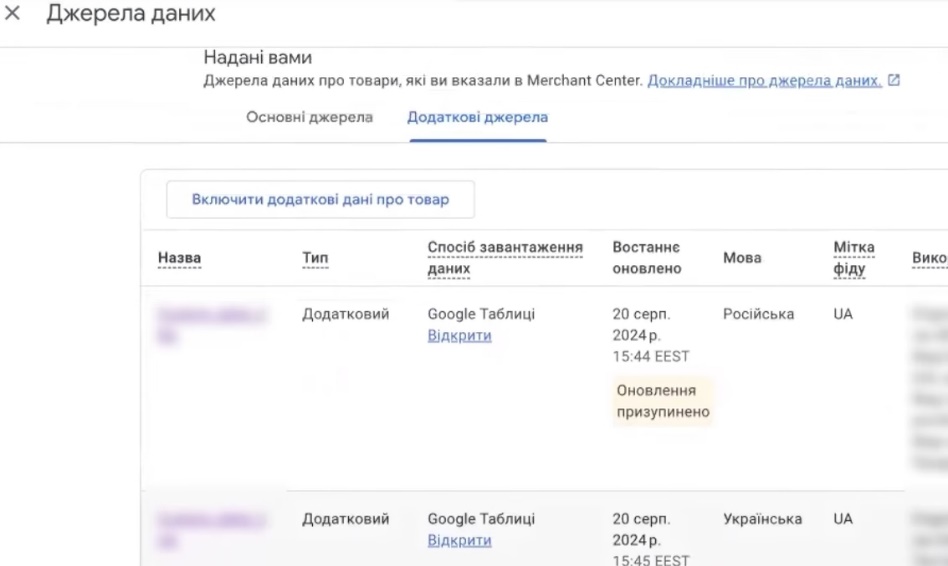
Everything, upload them in the same way as you uploaded them to the classic Merchant Center “Include additional product data” where you will upload them via xml or csv, you have a link format. Or you can use the same template for plates. It makes the same template that I created here, it is automated. Or using the API, it’s very simple. I mean, it’s all here.
Editing feed settings and conversion rules
Conversion rules are located inside feeds, as this one was at the time. That is, you go to your own feed. There is also an answer to your question “How to enter a separate feed and change its update time”. Tap on this feed, go to your settings, and there are update schedules for all these feeds.
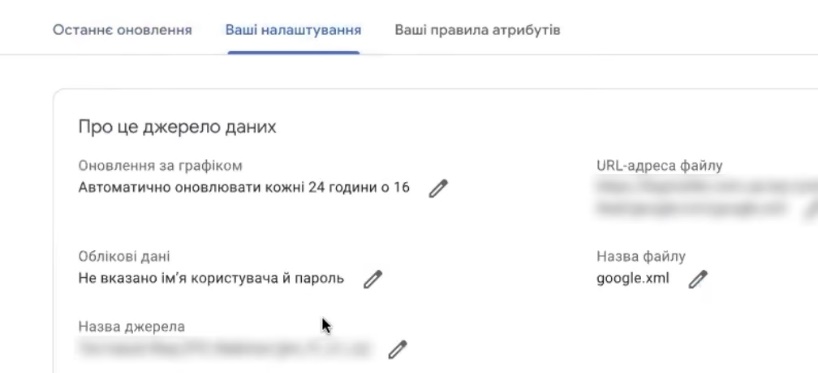
That is, the principle is the same. There is even the URL of this feed, the name of these files, the name of the feed itself, everything is here. Everything is just like it was in the old Merchant Center, nothing complicated. You can also find the rules for converting your feed, I have a lot of them here.
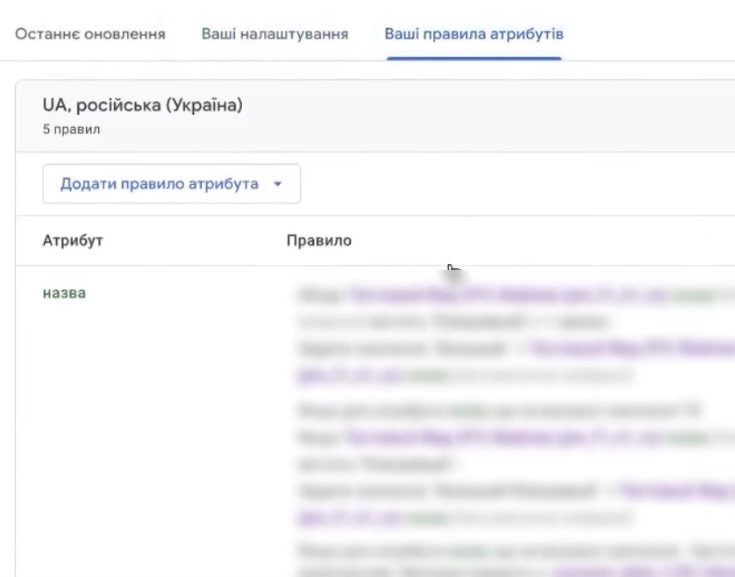
For example, you can see everything here. That is, you can see here what and how you can make transformations or rules that have been carried over from the old Merchant Center.
If you need to make a new rule, the principle is the same. Here, please, find some attribute. For example, I need to set a brand, and the same scheme applies.
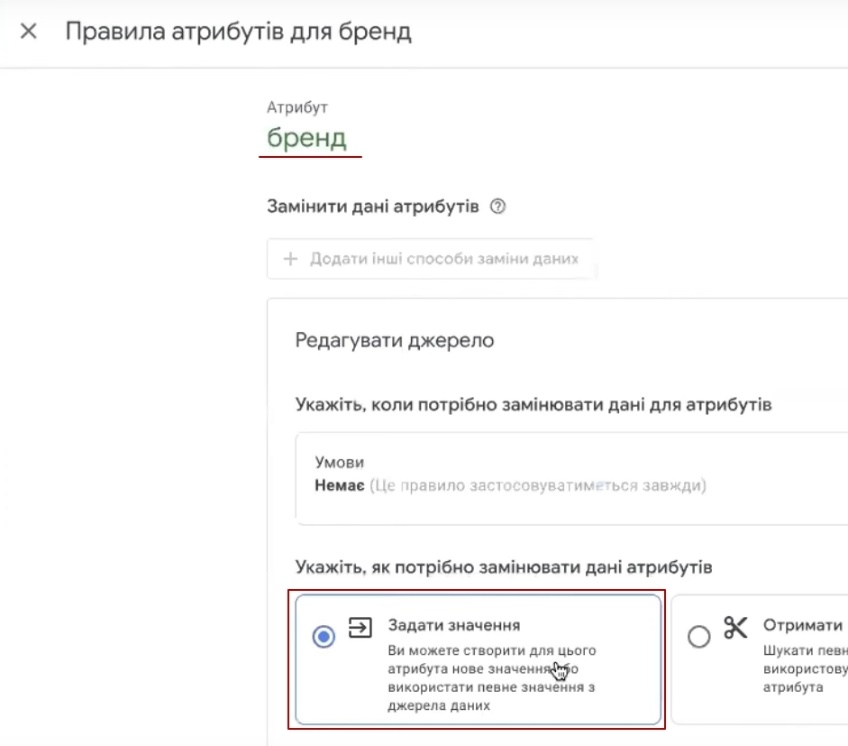
First, we set the source of this brand and then add the conversion or immediately set the brand that we need to set. But these are the rules of the transformation, and I won’t implement them here in this way. This is about where to find feeds, how to enter them, edit graphs and additional sources.
How to include reviews, additional sources, conversion rules in the Merchant Center?
If you suddenly go to your Data Sources, but you don’t see Product Review Sources, or you don’t see Additional Sources where you can add your additional feeds, or even going into the feed, you don’t see your attribute rules, i.e. conversion rules. How to enable them in the Merchant Center? What do you do to do this? You take this gear on the top right that you have. You click it, you go to this section, it’s the fourth from the top, it’s called “Add-ons”. It’s a very strange name. Here are all the programs that used to be in the Merchant Center in the “Manage Programs” section. You can review them. For example, I have already included reviews and “Additional sources”. Let me show you how it will look like.
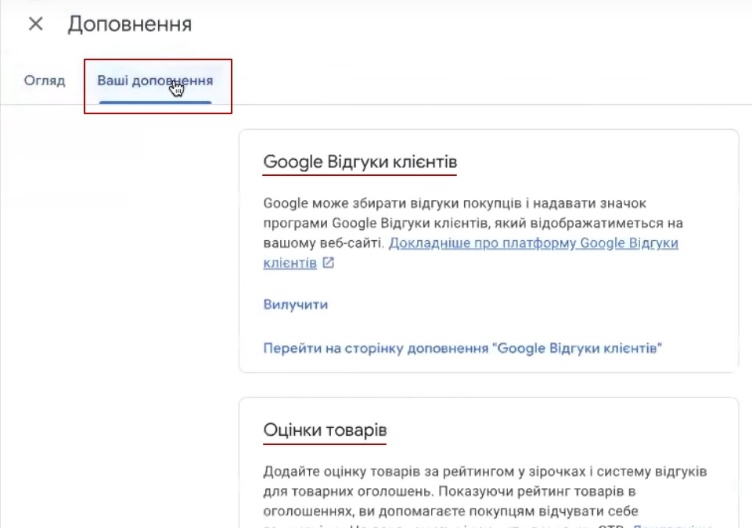
Here we go to “Your add-ons”, you may have them in “Overview”. In order to connect these additional feeds or conversion rules in the Merchant Center, it is enough to enable this program “Advanced Data Source Management”.
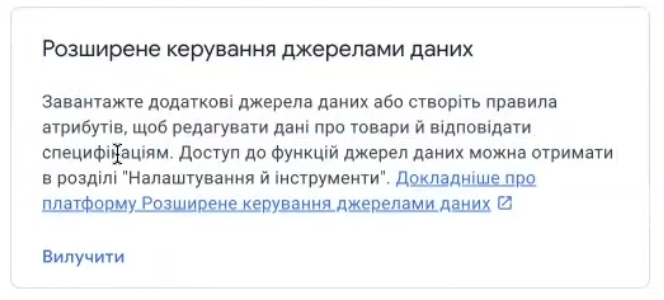
I don’t know why they had to go to such lengths to add this functionality here, but I think it has something to do with information confidentiality or something else. Let it be, they came up with it.
The same goes for customer reviews. It’s the same connection of “Product Rating” or “Customer Reviews”. You connect them through these add-on programs, do everything that Google asks you to do. Fill out the forms if you’re asking for reviews. And that’s it. After that, you can create feedback feeds or something like that. Everything is located in Data Sources.
That is, we seem to have answered the first question “How to add products to different feeds”. The principles are the same – the Russian version is a separate feed, the Ukrainian version is separate. You also separate the English and Chinese versions. How to go to a separate feed, change the update time – done. I also demonstrated how to see the list of feeds that we had after this update.
Viewing added products
Your products are now on this tab “Products”. Statuses If you have problems with the merchant center, you need to go to “Action required” or here it will be called “Diagnostics”.
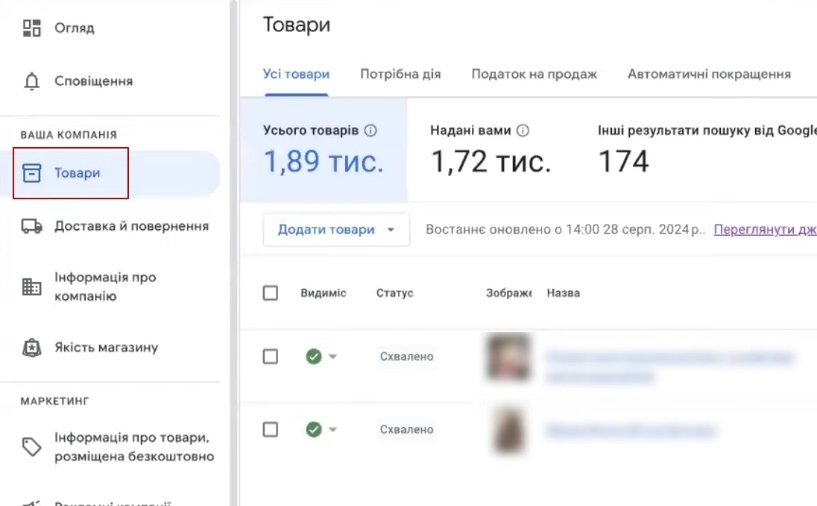
For example, I have 66 products with some deviations. Some of them need to be appealed, some do not. Some of the goods contain alcoholic beverages, and there’s nothing you can do about it. We need to create a slightly different set of data. You can view these products here at once. I won’t say that it’s very convenient, because it’s not super convenient.
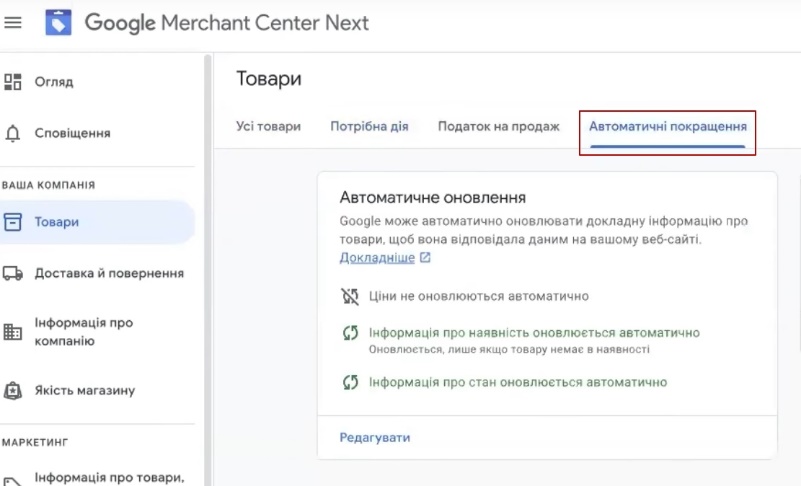
Automatic improvements. Who cares about automatic price updates, automatic availability, pictures that automatically adjust somehow, that Google improves. Here’s the Products tab – Automatic improvements. Here you can edit, enable or disable this functionality.
What is inconvenient about the new interface?
What did you find uncomfortable? I am uncomfortable with this set of columns. There were more of them in the previous interface. Plus, there were custom labels (seller labels), but they removed them here.
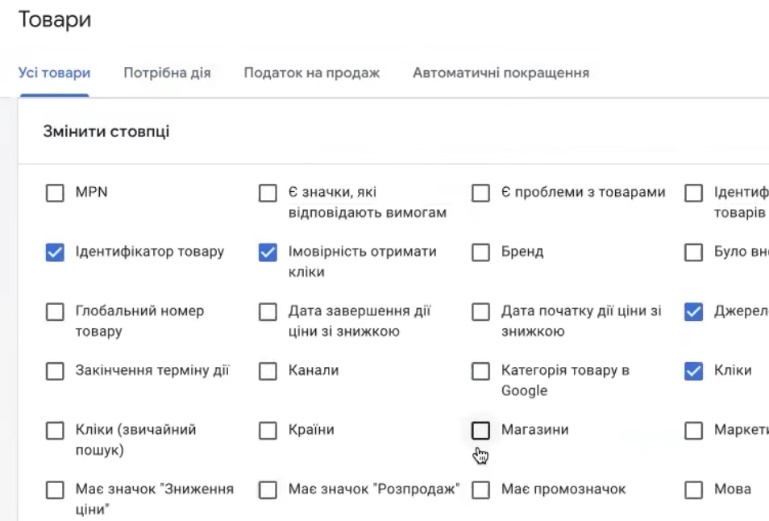
It’s very strange, I don’t know why they did that. But we have what we have. You can write some feedback on their new interface, let them add it. You have a set of information about products here. I’m a little bit uncomfortable with it, a little bit incomplete. But we have what we have. Especially since everyone is being forcibly transferred.
Entering delivery and return policies
“Shipping and Returns” are your shipping and return policies. By the way, pay attention to the return policy – it is often rejected. Why? Because there is a separate person who is bought for Google’s hourly rate, who simply visits your website, your merchant, and checks the rules. That’s why if you don’t describe the return policy transparently, it can sometimes be rejected.
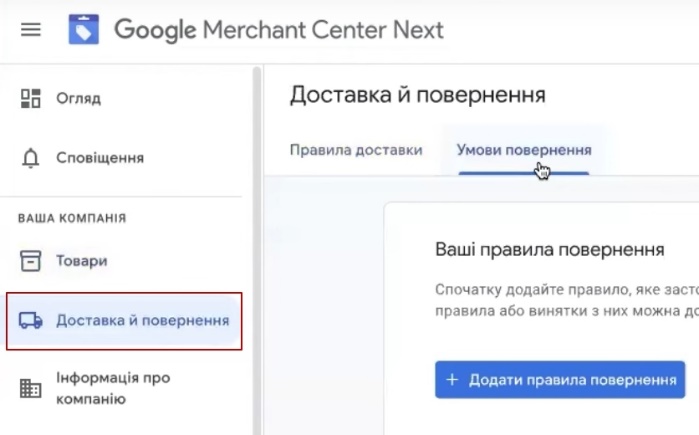
I don’t have it here, most likely, you will need to add it here to make the quality of the store much better compared to how Google evaluates it. I don’t have all the data here. Here, as you can see, the delivery service is available for certain price ranges. I don’t have a return filled out. There is something to work with here. I’m showing you an example here.
Adding company information
“Company information” – everything here is convenient, by the way. Confirmed, declared, address, logos if you need them here. Recently, if the logo has text, I don’t add it at all. I mean, we don’t touch it at all. But you can add all these things. Keep in mind that logos with text are often not verified. Moreover, your merchant may be blocked for various reasons because you have something drawn on your logo. I don’t know why they came up with this.
Displaying information by type of ad campaign
This is information about free advertising campaigns – this is where the advertising campaigns you have in Google Ads will be displayed. I will skip this block.
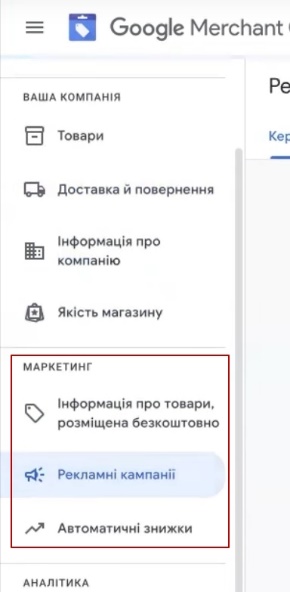
“Automatic discounts” is not a particularly relevant story for Ukraine. “Analytics Summary, Products, please, and Reviews. My reviews are a bit overloaded here, so I won’t focus on them.
This is a mini-navigation of where the feeds are, where the additional feeds are, the rules, and how to enable them.


