Setting up Google Merchant Center on Wix opens up new opportunities for online store owners. Thanks to this integration, you can easily synchronize your product catalog from Wix Stores with the Google Shopping service. Thus, all changes made to the product catalog will be automatically reflected in the Merchant Center.
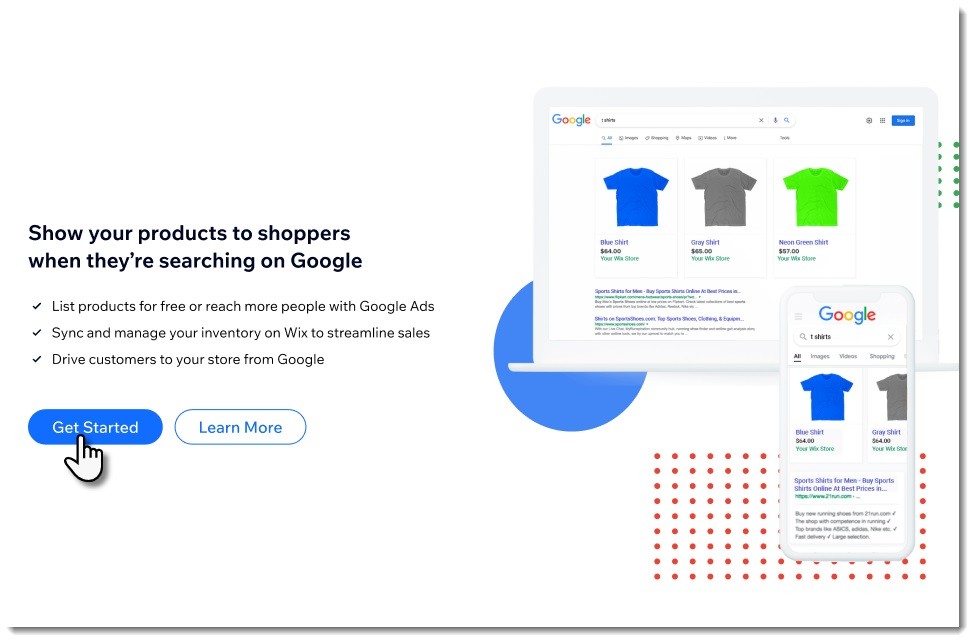
Imagine how convenient it will be for potential buyers to find your products directly in Google search results. When a user searches for a product similar to what you offer, the card may appear in the search results with a photo, price and short description. An interested customer will be able to go to the store page and complete the purchase.
In addition to expanding your audience reach, the use of Shopping Ads provides valuable information about the performance of individual products. You’ll be able to track clicks, views, and conversions to help you optimize your catalog and marketing strategies. But how exactly does setting up Google Shopping on Wix work? Let’s look further.
How do you set up Google Merchant Center for the Wix platform?
To set up Merchant Center for the Wix platform, you need to register in this service and add products from the catalog. Use the step-by-step instructions below to do this.
Sign up for Google Merchant Center
First of all, you need to register in the Google Merchant Center service. However, if you have previously created an account in the system for this website, then before connecting a new account, you must delete the old advertising account and all feeds associated with it.
To connect an account:
- Go to the “Google Merchant Solutions” subsection in the site admin panel on Wix.
- Click on the “Start” button.
- Select the “Register on Wix” option and fill out the form provided to create a new account.
- Click “Allow” to confirm that your account is connected to your website on the Wix platform.
- After successful connection, click “Continue.”
Make sure the site meets all Google requirements
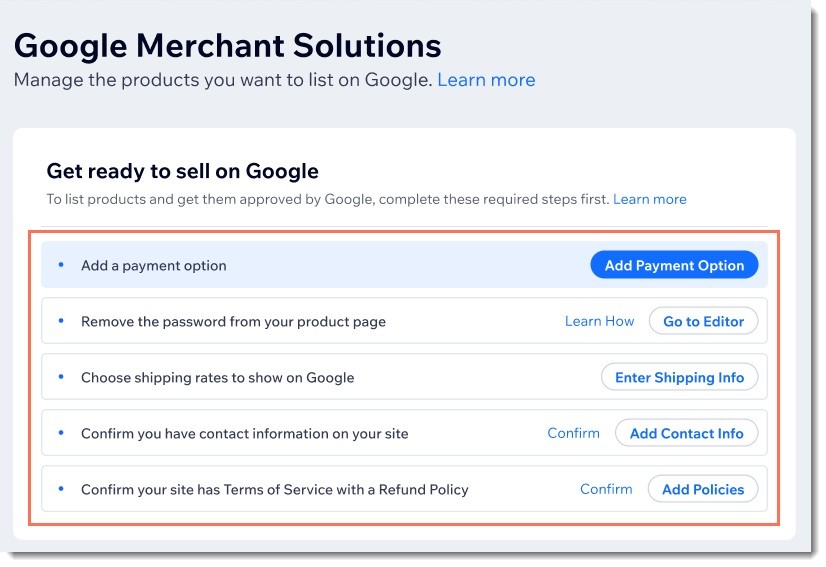
Before you can start selling products through Google Shopping, your site must meet a number of requirements set by the search engine. After creating an account in the system, you will see a list of prerequisites. You need to complete each item in this list to continue setting up:
- Add online payment. All resources that place product advertising must add the ability to accept online payments. Without complying with this requirement, advertisements cannot be displayed.
- Remove the password from all product pages. For websites on Wix, you can set a password for individual pages so that they are not accessible to all users. To add shopping ads, these restrictions must be disabled.
- Decide which shipping cost to display. Fill out the current information on the cost of logistics services so that Google shows them to potential clients viewing ads.
- Confirm your contact details. To do this, click “Add contact information” in the Vicks admin panel. It is also important that your contacts indicate at least two ways to contact you – telephone number, email or company address. After adding information, do not forget to click on the “Confirm” button.
- Add and complete the “Privacy Policy” and “Warranty and Returns” pages. This data is required for all online stores that are represented in the Google Shopping service.
Match product attributes
In order for Google to correctly understand and classify products, and show them to the appropriate target audience, it is necessary to compare the internal characteristics that are used in the store with the attributes in the Merchant Center system.
For example, if you sell red women’s sneakers, the system needs to know that the product is “red” and intended for women. Only in this case the ad will be shown to the buyer who entered the query “red women’s sneakers.”
To match parameters:
- Go to the Google Merchant Solutions subsection in the Wix admin.
- Click on the “Customize” icon (located on the top right).
- Go to the “Product Attributes” tab.
- Select the appropriate attribute from the drop-down list for all the characteristics that you have set in your catalog:
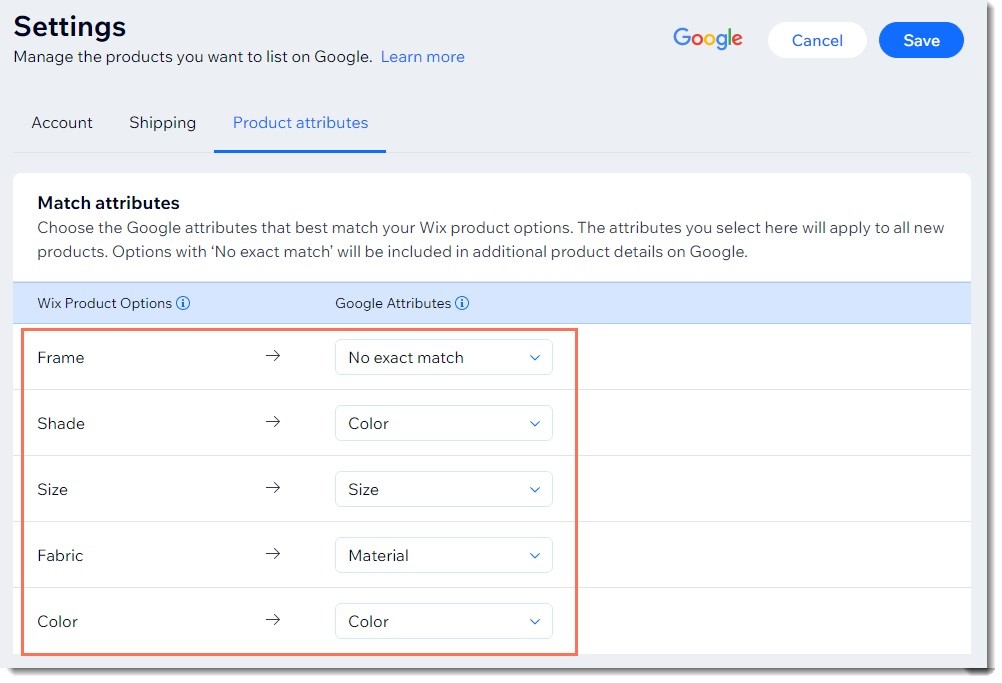
Keep in mind that sometimes Wix automatically suggests the appropriate option. For example, it can match “Hue” and “Color”, etc. If necessary, this moment can be canceled. If none of the attributes suggested by Google match, select the “No exact match” option.
Prepare your product feed
Next, you need to create a feed with products so that they are automatically uploaded to the system. This will also allow you to pull up new prices, pictures and descriptions in the Merchant Center immediately after you have made changes on Wix.
To get the URL of the feed with information on all products from the catalog:
- Open the “Marketing Integrations” subsection in the platform admin panel.
- Next, find the “Google Merchant” heading there and click on the “Connect” button.
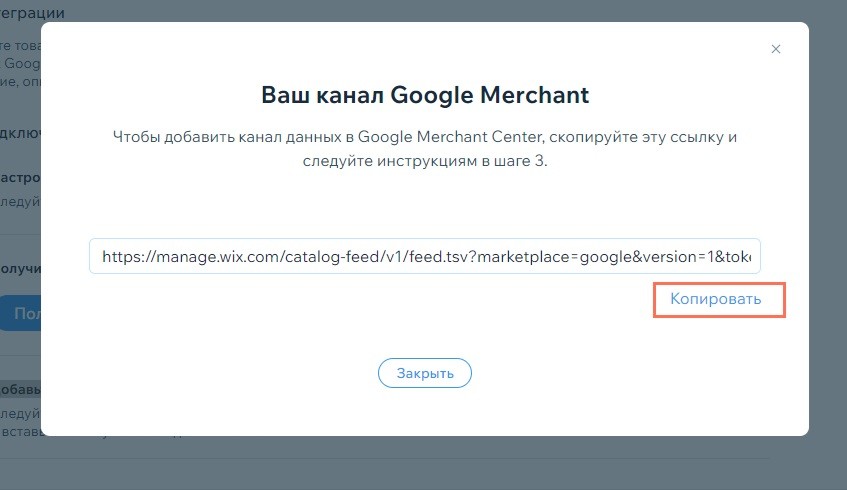
- After that, click on “Get link to data feed.”
- Next, copy the feed URL to your clipboard.
- Click “Close” and then “Save Changes.”
Upload your product feed to Google Merchant Center
After receiving the feed URL from Vicks, you need to create a new product feed in your Google Merchant account and add the link you received in the previous step to it. Here you can specify the countries where your business operates, select the languages in which information is presented in the online store, and also set a schedule for synchronizing data between the site and the system.
To create a new feed:
- Login to your Merchant Center account.
- In the menu on the left, select “Products.”
- Go to the “Feeds” tab.
- In the “Primary Feeds” subsection, click on the “Add Primary Feed” icon.
- Select which country the store operates in and the feed language (you can add multiple countries if necessary).
- Click Continue.
- Next, you need to fill in the name of the product feed.
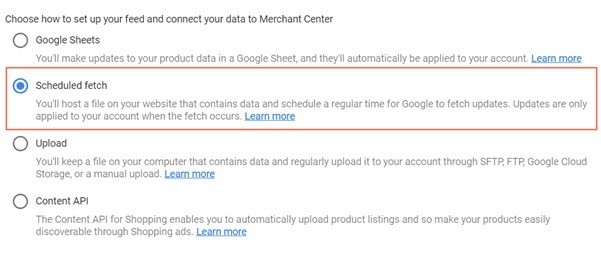
- To set up updating information about products, in the “Select a setup method” subsection you need the “Scheduled download” option.
- Specify the frequency and time of sending data to download updates.
- In the “File URL” cell, paste the address you copied from the Vicks store.
- Click on “Create feed”. If you wish, here you can immediately start the first synchronization by clicking on the “Get now” button.
Please note that information from the feed is updated not in real time, but according to a schedule. However, you can always manually activate the process on the feed page.
How to make it easier to set up Google Shopping for sites on Wix?
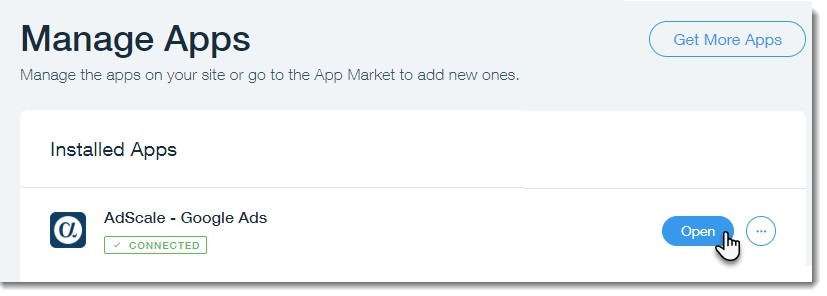
Setting up Google Shopping for websites on Wix may seem like a rather complicated process for beginners. However, Wix developers have made sure to make this task as simple as possible for business owners. The AdScale application was created specifically for this, which automates most of the process and creates a seller account.
To simplify the setup process using AdScale:
- In the Wix Editor, click the Apps icon on the left side of the screen.
- In the search bar, enter “AdScale – Google Ads”, then click on the “+Add” button and then “Allow and install”.
- Select a registration method. The easiest way to do this is through a Google account. However, you can also register using your email, login and password.
- Check the “Enable Google Shopping ads in AdScale” and “Enable Google keywords for your store” checkboxes, then click “Next.”
- From the drop-down list, select the appropriate category that most accurately describes the products being sold.
- Enter your bank card details. The system will debit funds from it for traffic from trade advertising campaigns.
- At the next stage, you need to determine the regions in which trade advertising will be displayed, and also indicate to which of them delivery is free (if any).
- Identify the demographic factors of the target audience – age range and gender.
- At the next stage, you can connect various advertising tools from Google – “Product Ads” for product ads and “Homepage Ads” for regular text contextual advertising. If desired, you can activate both options.
- Next, you will need to connect product categories to display ads for them in the “Google Shopping” section. You can select the entire catalog or exclude individual products from it.
- The next step will be to create an impression schedule for your ads. You can select individual days of the week and hours.
- Set a budget for your first campaign. If necessary, you can set the minimum ROAS (return on advertising) value in the “Additional settings” section.


